Poké Radar Chain Length RNG
As mentioned earlier in the guide, Poké Radar chaining grants guaranteed IV bonuses at specific chain lengths and increases the shiny rates up until a chain of 40. It would normally be very difficult to reach such high chain lengths even with perfect gameplay, so we use RNG manipulation to improve our chances of getting there. This section of the guide will teach you how to build a high chain using the automation features in ARSE.
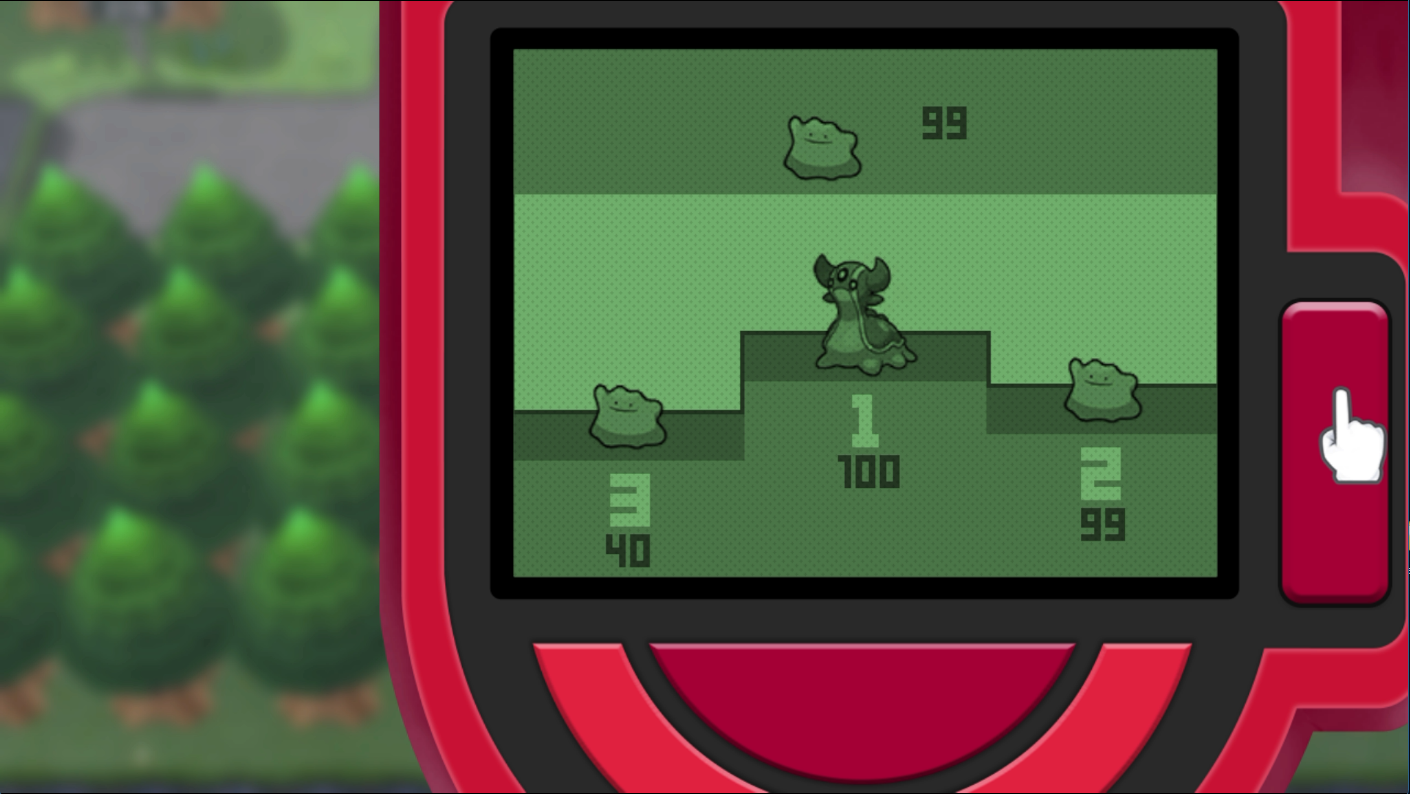
Figure 1 - Chain Continuation Demo
At the end of a battle, right after dismissing the experience gain screen, the game rolls a random number from 0-99 to decide if the chain will break or continue. With perfect play, our best chance of chain continuation is 93%, which means we need a roll of 0-92 for the chain to continue. The 7% chance that the chain will break occurs if the random number is 93-99.
Recall that we recommended having at least one fainted Pokémon in your party that can gain experience. Having a Pokémon in our party that can gain experience is crucial as this gives us the most control over when the battle ends. The experience gain screen is the one where an experience gain value such as +0 appears next to the Pokémon in our party. This screen will remain until we dismiss it by pressing the A button. In practice, we can get to this screen, then leave the rest to ARSE to monitor for a safe frame and automatically press the A button to exit the battle without risking the chain.
Because the RNG state advances very quickly during battle, it can be difficult to manually land on a single precise frame that will preserve the chain. For this reason, it is recommended to target ranges that contain 70-100 consecutive safe advances. This provides a buffer and significantly increases the chance of continuing a chain when the battle ends.
Advances can be done outside of battle using methods such as Pokédex scrolling if a target is very far away. Once you are about 5,000 advances away from the safe cluster, you can enter the battle. It is recommended to use this method and target clusters of about 100 safe frames.
Figure 2 - Automating Chain Continuation

We recommend following these steps in handheld mode (with JoyCons connected to the console). ARSE's automation features require the JoyCons to be docked or entirely disconnected through the system menu. If you disconnect them, you will have to dock them on each continuation attempt.
Before Starting
- Head to the location where you plan to start a Poké Radar chain. Stand in the grass. Activate any kind of Repel. Make sure you keep a Repel active throughout this entire process.
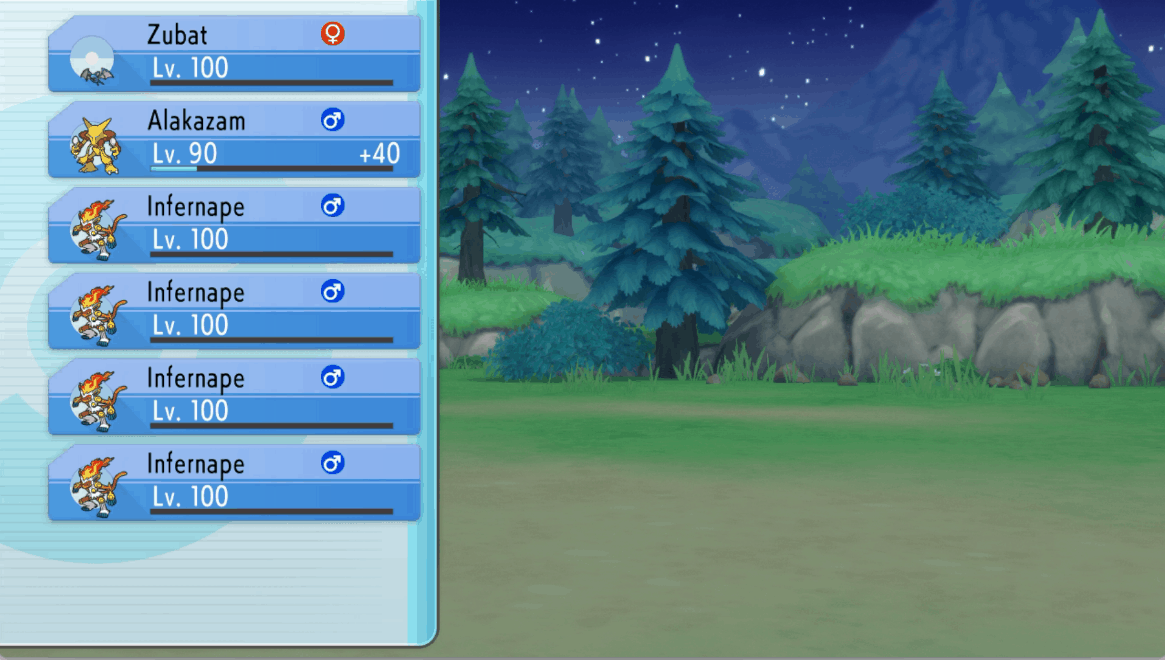
- Zubat should be the first Pokémon in your party at this point for consistency. Your party should be set up as previously described.
- Connect to ARSE if you have not already done so. You should now see your seed information on the top left section of the program.
- Set the
Action at Target:on ARSE toPress A. - Set the
Min. Safe Advances:value to100. You can set a lower value such as 70-90, which will be faster to find but less safe than 100. - Keep the
Continuation Rateat93%as you should be playing perfectly for the best possible chance of chain continuation.
Step-by-Step
- Use the Poké Radar to spawn 4 shaking grass patches. Select a grass patch that is 4 tiles away from where you are standing. Walk over and stand in an adjacent tile, using the D-Pad to position within the grid.
- If none of the grass patches are 4 tiles away, walk 50 steps to recharge the Poké Radar and use it again from the middle of the grassy area.
- The next step depends on what value you set for
Min. Safe Advances:. - If you are using a lower value between 70-90, consider entering the battle at this time. It should not be difficult to find a safe frame. Finding a seed with 70 safe frames in a row will take an average of ~3,000 advances, which only takes a few minutes in battle.
- If you are using 100, wait outside of battle and check how long you have to advance. Finding a seed with 100 safe frames in a row takes an average of ~40,000 frames, which can take a while to advance in battle. We can advance faster using the Pokédex.
- Press the
HOMEbutton on your JoyCon to minimize the game. You should be looking at the Switch Home Menu. - Click the
Generatebutton towards the bottom of the second column on ARSE. You should now see yourNext safe advanceunderneath theGeneratebutton. - You will see your closest safe advance next to the
Next safe advance (x in a row):text, then the three following safe advances directly underneath. This is helpful if you have not yet entered the battle. - If this value is over 5,000 and you are not in battle, you can use Pokédex scrolling to quickly advance the RNG state until you are roughly 5,000 advances away.
- If you are not using a Master Ball you should consider entering the battle with more advances to spare, it may take a few attempts to capture the Pokémon. This consumes ~1500 advances per failed capture attempt.
- Enter the battle if you have not already done so and quickly capture the Pokémon. Press the
Abutton until you reach the experience gain screen. - If you are playing in docked mode, you will now need to completely disconnect any extra controllers that are connected to the console, dock your Joycons, and disconnect/reconnect ARSE to the console before you can proceed. After this step, you can reactivate your controllers to initiate the next round. You will have to do this for every continuation attempt, which is why we do not recommend it!
- Press the
Find Safe Advancebutton on ARSE. The program will now monitor the RNG state and automatically dismiss the EXP gain screen when appropriate. - You can watch the
Statusin the leftmost column underneath theConnect / Disconnectbuttons to see what the program is doing. - If the attempt worked, you should be back on the overworld and see that that your chain has continued by spawning 4 more shaking grass patches. Repeat these steps until you have built your chain to a sufficient length.
Continuation Rate lower to try and continue the chain. This guide will not cover suboptimal gameplay in more detail.
Figure 3 - Chain Length Manipulation Complete