Legends: Arceus Main RNG
This page covers setup instructions for manipulating Pokémon that are generated via the Main RNG state. From here it is assumed that you have followed all of the setup instructions found on the main page. As a reminder, the Pokémon that can be manipulated this way are:
- Dialga or Palkia - Origin Form
- Dialga or Palkia - Non-Origin Form
- Giratina
- Regigigas
- Arceus
If your desired target is not in this list then you are in the wrong place. Your target Legendary/Mythical is associated with Spawner RNG.
In the wrong place? Visit the Spawner RNG guide!Script & Program Overview
Figure 1 - Main RNG Script Setup
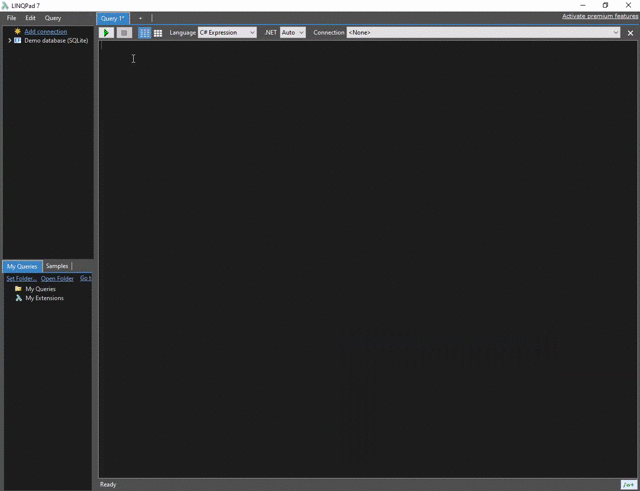
LINQPad Setup (Static Encounter Generator Script)
LINQPad is used as an RNG tool for the purposes of this guide (as mentioned on the main page). We can use the Static Encounter Generator (Main RNG) script to calculate results based off of a given seed. It can also be used to keep track of the required number of advances required to reach a specific target frame.
Work through these setup instructions carefully to ensure that the script is functional:
- Launch LINQPad, then change the
Languagein the header toC# Program. DELETE THE EXTRA CODE THAT APPEARS AFTER DOING SO. - Paste the contents of the
Main RNGscript into the main window of LINQPad. This is demonstrated in the above image. - Press F4 to open the
Query Propertiessubwindow, then click theAdd/Browsebutton to open file explorer. - Navigate to the folder that contains the SysBot.NET download (this should be in a known location), then find and select
PKHeX.Core.dll. - Open the
Namespace Importstab, then typePKHeX.Core, then click theOKbutton to close the sub window. - Enable compiler optimizations by pressing the button on the bottom-right of the main window, then run the script by pressing the
▶button at the top of the window.
If done correctly, when pressing the ▶ button you should see a list of advances, this shows that the script is working as intended. Save the changes after confirming that the script is working properly.
Figure 2 - Script Modifications (Filters)

Script Modifications (Filters)
You will need to adjust the search filters located towards the bottom of the script if you wish to search for targets with specific IV/Nature combinations. By default most of the filters are written as comments, which means that the code is currently inactive and will require activation to work properly.
Applying Filters:
- Scroll down to the bottom of the script until you reach the line that says
Add your filters here. We will add any relevant search filters below this line. - Remove the slashes
//on the filters you wish to activate, or add them to filters you wish to deactivate. - For example, if you wish to apply IV filters you will need to remove the slashes on the following lines:
- Change the nature value if you are filtering for a specific nature, otherwise you should deactivate the nature filter by adding
//to the relevant lines: - Set your desired IV values if you are filtering for specific IVs, the order the script operates with is HP/ATK/DEF/SPA/SPD/SPE.
- Ensure that the gender filter is not active, as none of these legendary/mythical Pokémon have specific genders.
                    //if (ivs[0] != 31 || ivs[1] != 0 || ivs[2] != 31 || ivs[3] != 31 || ivs[4] != 31 || ivs[5] != 31)

                    //    return;
                    //if (nature != (int)Nature.Timid)

                    //return;
If you are seeking a very rare target you may wish to increase the search range. This can be done by scrolling to the top of the script and increasing the value inside the int maxAdvance field. Keep in mind that the higher the search range the longer you could potentially be waiting in game to reach your target frame.
Important - Ensure that the script is working as intended and that you have a basic understanding of how to apply/remove search filters. You should be comfortable with using the script before continuing.
Figure 3 - SysBot Setup
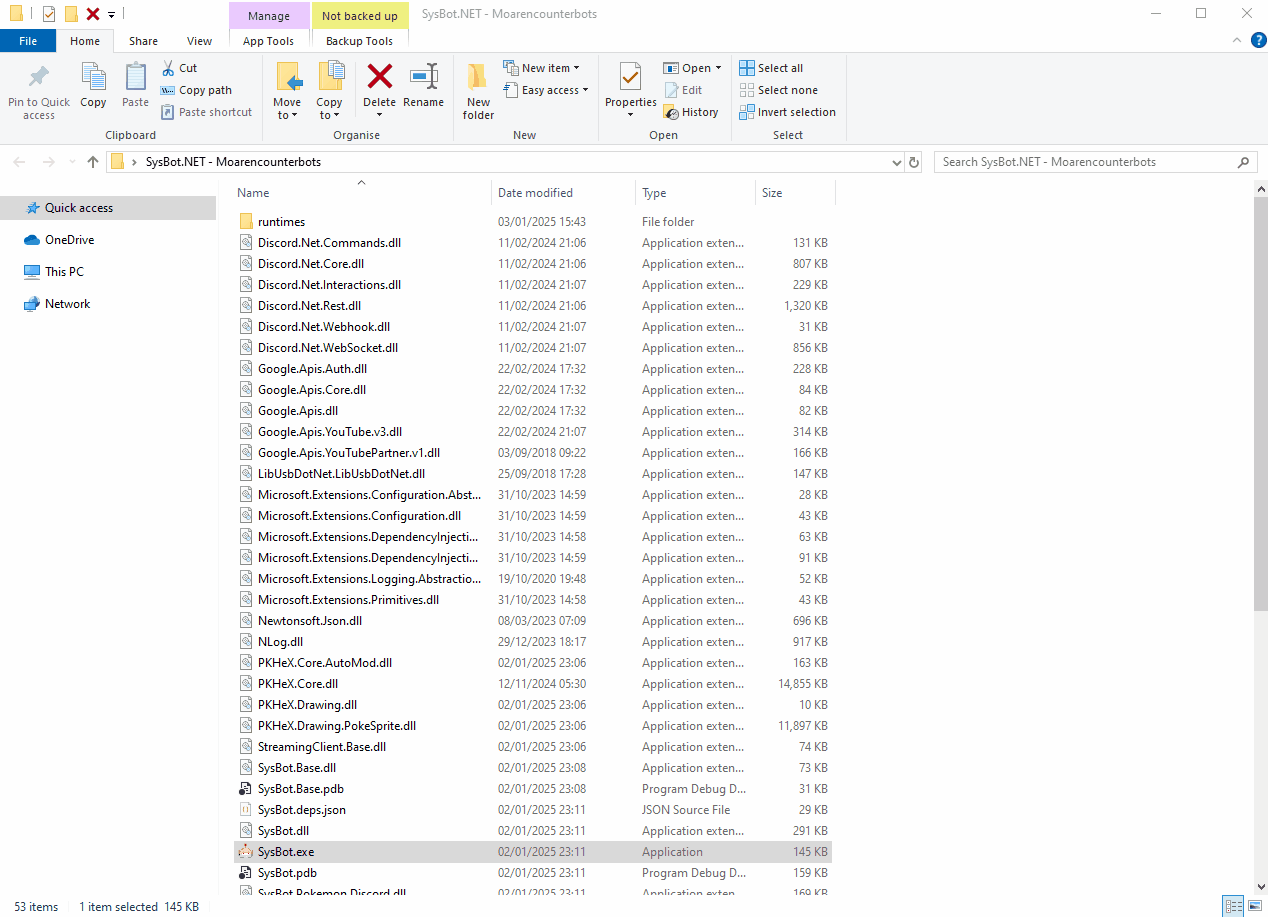
SysBot Setup
Moarencounterbots (SysBot.NET) is used to find and monitor your Main RNG seed in real time. You should have already configured the bot mode to work for Legends: Arceus, if you skipped this step you will need to revisit the material found on the main page.
Finding Your Current Seed
- Open Sysbot.NET and click the
Hubtab, then open theEncounterLAdropdown menu. - Set
DisplaySeedModeto Bit128, and setMonitorRefreshRateto 0. - Head back to the
Botstab and selectEncBotCopySeedLAin the dropdown menu. - Type the IP address of your console into the IP field and add the bot.
- Stand in the overworld in-game then press the
Home 🏠︎button to pause RNG advances. - Click the
Start Allbutton, you should now see your current seed inside theLogstab.
Seeds will be copied to clipboard automatically, you can paste your current seed into the Main RNG script and run the script to see if a result that matches your search conditions is found. If you do not find anything you can simply restart the game and repeat the process until a desired result has been found.
Monitoring Your Current Seed
- Open the
Botstab, selectEncBotRNGMonitorLAfrom the dropdown menu. - Type the IP address of your console into the IP field and add the bot.
- With the game paused on the
Home 🏠︎menu, click theStart Allbutton. - Navigate to the
Logstab and unpause the game. - You should now see that your seed is being monitored in real time.
Once you have all everything configured properly inside the Hub tab, you can switch between EncBotCopySeed and EncBotRNGMonitor as often as you like without needing any further configuration. If you wish to begin monitoring from advance 0 again you will need to remove and re-add the bot or restart the program.
Figure 4 - PokeViewer Setup
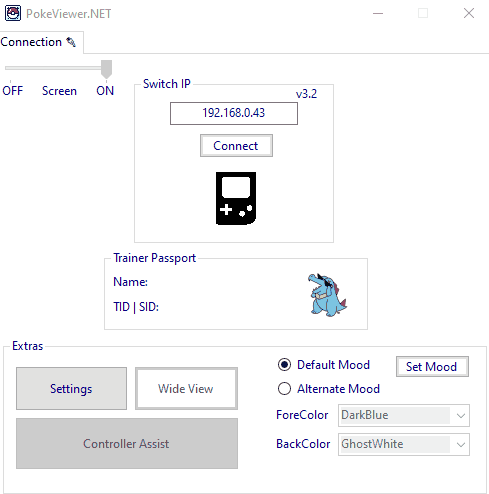
PokeViewer Setup
The main use of PokeViewer is to read the details of the Pokémon we are in battle with, this can then be compared with the Main RNG script to confirm that a target has been hit, and to help troubleshoot failed encounters.
- Launch
PokeViewer.exe, then type the local IP address of your console into the IP field, this can be found by opening the Homebrew Menu, then pressing the Y button. - Open the game and enter the overworld, then click the
Connecton PokeViewer. You should now see that the program is reading the details of your save file. - For Pokémon that engage in battle, navigate to the
Viewtab, after clicking theViewbutton, you should see the details of the Pokémon you are in battle with. - For Pokémon that go directly into a box slot (i.e. Origin Legend and Arceus), navigate to the
Box Viewtab to view the details of the Pokémon instead.
Great! You should now have a basic understanding of how to use each of the tools used for this type of RNG manipulation. Continue following the guide to see a worked example of how to perform each RNG from start to finish. The method used will vary slightly depending on your chosen target.
For Dialga/Palkia, click here!
For Arceus, click here!
For Giratina, click here!
For Regigigas, click here!