Save Management (Switch)
This guide provides instructions for using JKSV, a save management homebrew for Nintendo Switch consoles running Custom Firmware (CFW). The goal is to provide the most up-to-date methods of extracting and restoring edited save files as other guides are slowly becoming outdated or are using sub-optimal methods of accessing the SD card.
Tools and Applications
- Switch CFW (Atmosphere)
- JKSV
- USB File Transfer Homebrew / Hekate USB Tools
- A USB data transfer cable that connects to your Switch and your PC.
fusee.bin.
Figure 1 - Homebrew Check

After launching your desired CFW environment (SysNAND or EmuNAND) you can launch the Homebrew Menu in one of two ways:
- Launching a game while holding the
Rbutton will open the Homebrew Menu using title override, which is recommended for this use case. - Pressing the
Albumbutton on the Switch home screen launches the Homebrew Menu in applet mode, which may cause the console to crash and is not recommended.
After launching the Homebrew Menu you should see a screen similar to the above image. The list of installed apps will vary depending on the specific homebrew you have installed. In any case, confirm that JKSV and USB File Transfer are present before continuing.
Figure 2 - JKSV Overview
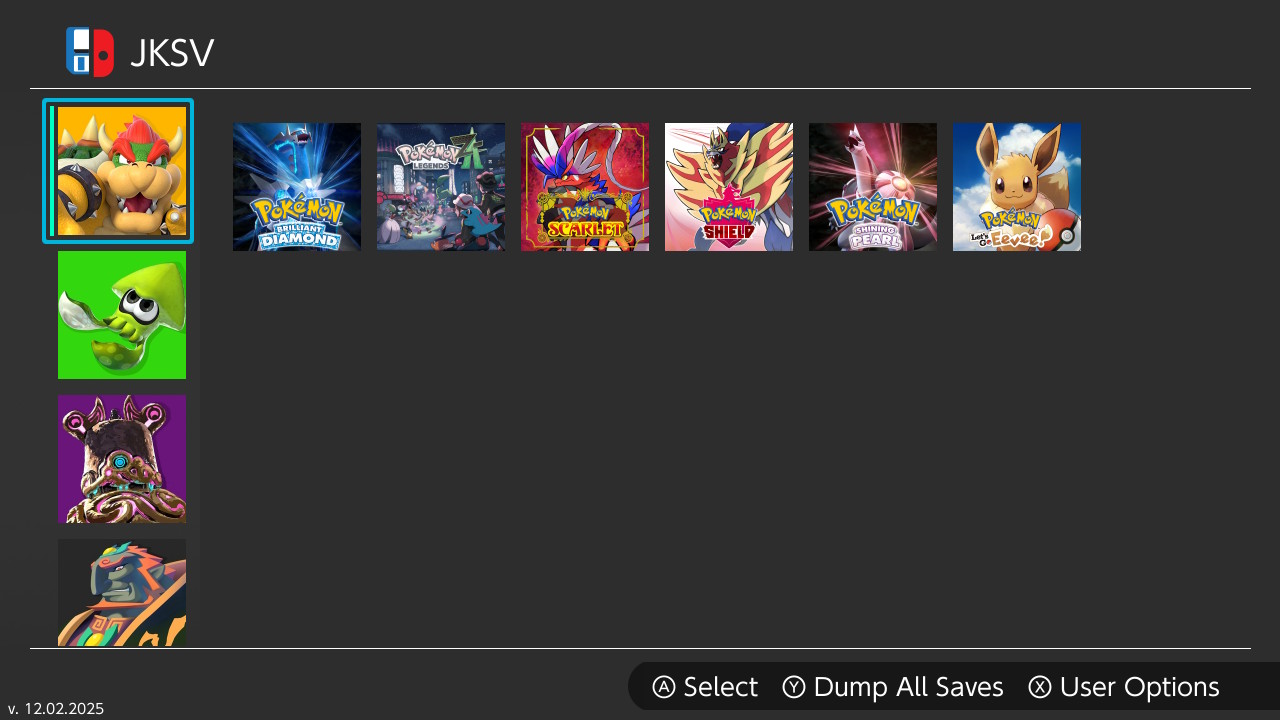
This is the screen you'll see after launching JKSV. On the left, you will see the users associated with the console (indicated by the profile icons), while on the right, you can view a list of games and save files associated with each user.
Scrolling down the user icon list will bring you to the Settings page, here, it is recommended to do the following:
- Select Settings and scroll down to
Export saves to ZIP. - Turn this setting OFF - This will save a headache later (image).
- Back out of the settings menu, you do not need to change anything else.
Figure 3 - Backing Up Save File
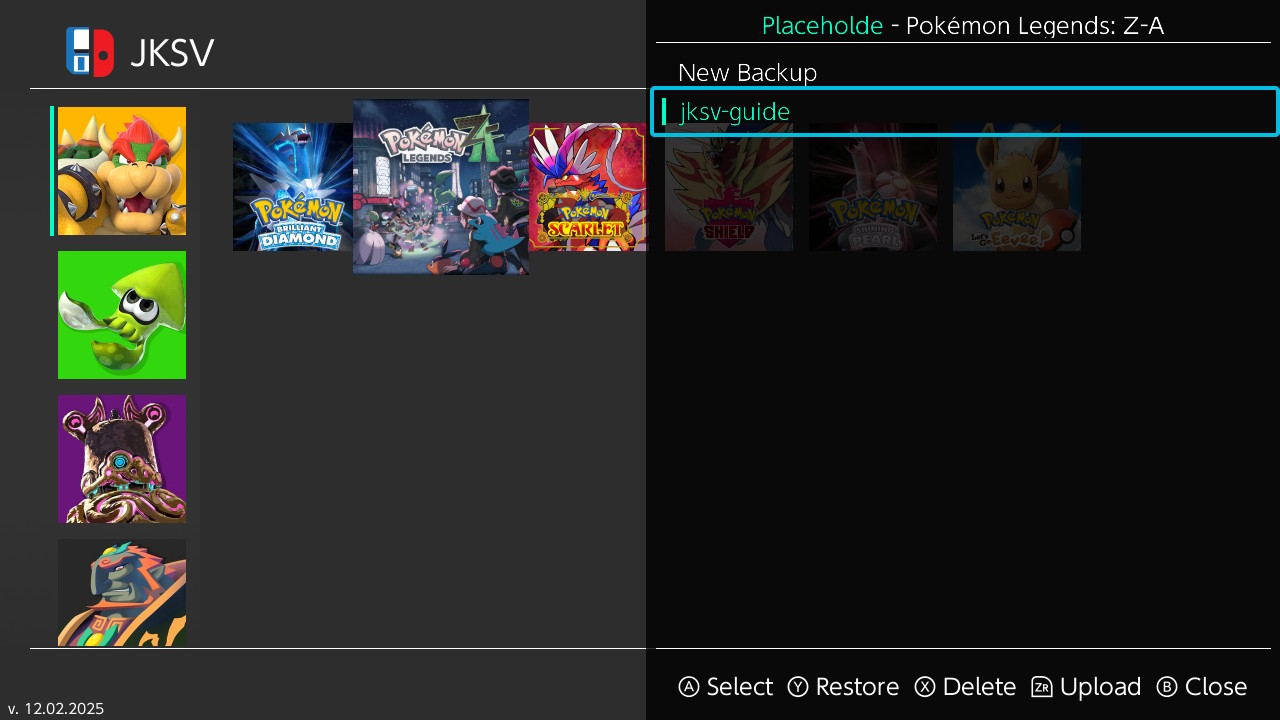
To back up a save file, do the following:
- Select the user icon which contains the save file you wish to back up.
- Select the game you wish to back up the save file on.
- Select
New Backup, then give the backup a name if you wish. - Press the
+button, your save file has now been backed up. - Backed up save files can be found in the
/JKSV/gamename/savename/directory. In this case we backed up a Legends: ZA save file and named it jksv-guide, so our save file can be found in/JKSV/Pokemon Legends Z-A/jksv-guide/directory. - The save file itself is the
main.binfile, any other files inside the folder can be ignored for the purposes of the guide.
Figure 4 - Moving Save File

To move your save file to your PC you will need to either use the USB File Transfer homebrew software, or use Hekates USB tools. Either one of these options is perfectly fine for this use case, but for the purposes of this guide the images will show the USB File Transfer homebrew.
Using USB File Transfer
- Launch the Homebrew Menu using either title override or applet, then select the USB File Transfer homebrew application.
- Connect your console to your computer via USB, you should now see
Nintendo Switchin your list of drives. - Navigate to the
/JKSV/gamename/savename/directory, then pull the folder that contains your save file to a known location on your computer (e.g Desktop)
Using Hekate USB Tools
- Reboot the console to payload, your console should now be on the Hekate home screen.
- In the navigation bar at the top, select
Toolsto bring you to the tools screen. - From here, select
USB Tools, thenSD Cardand connect your console to your computer via USB - You should now see your console in the list of drives, the name of the console may vary.
- If you get a pop-up about a corrupt drive but have an EmuNAND installation, this can be ignored by simply closing the pop-up.
- Navigate to the
/JKSV/gamename/savename/directory, then pull the folder that contains your save file to a known location on your computer (e.g Desktop)
Figure 5 - Editing Save File
After editing your save file using a save editor (e.g PKHeX) you will need to export it back to the folder you imported it from, in PKHeX this can be done by selecting File > Export SAV and clicking Overwrite.
After exporting the save file you will need to move the folder back onto the SD card, place the whole folder back into the directory you got it from. In this example we would be moving the folder that contains our edited save file back to /JKSV/Pokemon Legends Z-A/jksv-guide/.
Figure 6 - Restoring Save File
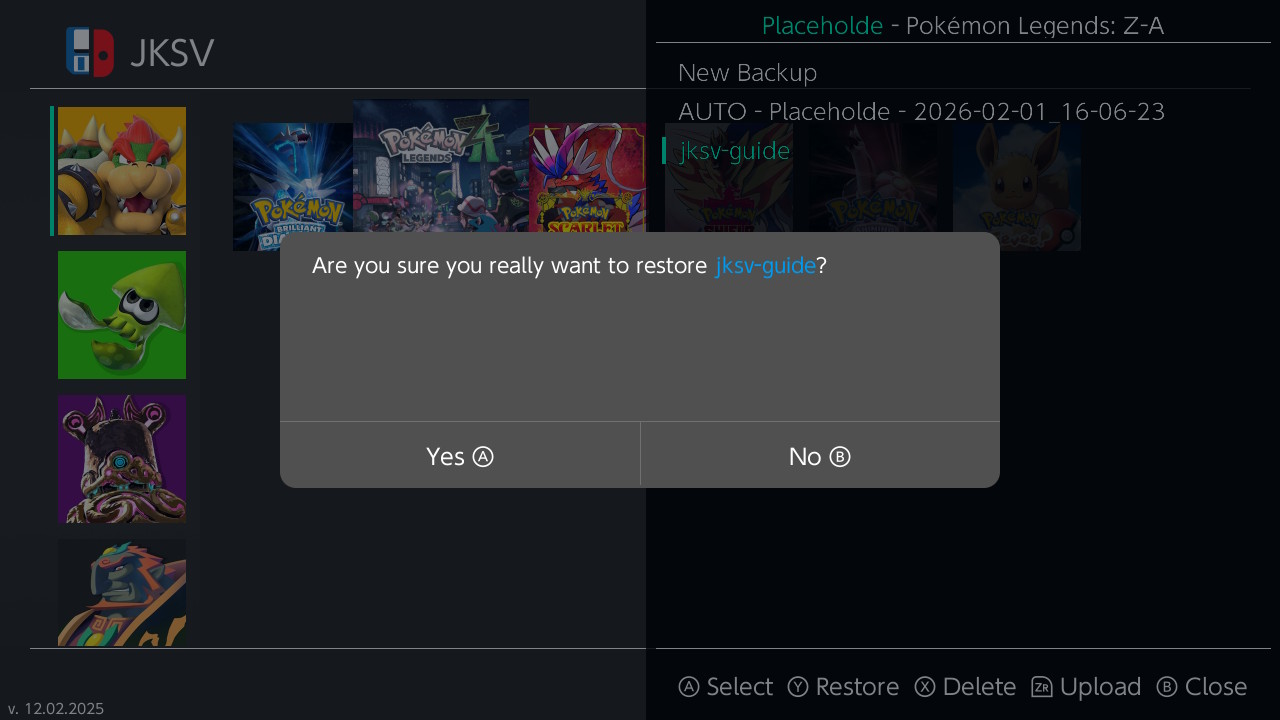
After moving your save file back onto your SD card you will need to relaunch JKSV from the Homebrew Menu once more, then do the following:
- Select the user icon which contains the save file you wish to restore.
- Select the game you wish to restore the save file onto.
- Select the save file you want to restore, then press the
Y, now hold theAbutton until the restoration is complete. - Press the
Homebutton to back out onto the Switch home screen, then launch the game and confirm that your save file edits reflect in-game.